Showing posts with label diy. Show all posts

23.6.11

Decluttering & Crafting

This past week or so I’ve really taken action on becoming less of a pack rat. Not quite a “lack rat”, but I’m downsizing by getting rid of the clothes I don’t wear, the books I don’t read, and the general paper piles that are never sorted through.


This isn’t my bedroom, but maybe someday… (davidyates@tumblr)

Here are some links that have been helping so far:


I’ve also been fixing up ripped and broken clothes I have, taking in dresses and -
I made this super cute felt squirrel finger-puppet!


Yes, my walls are super ugly. 
See the tutorial at Sotosofties here.

24.5.11

A Poor Woman’s Planner


I’m back from Jasper and seeing Rammstein as well, so expect posts on those soon. I saw a lot of elk behinds. ANYWAYS.

(from DaveLadore @ flickr)


The following is my totally-janky make do planner for the summer, since the free university-provided planners don’t cover the summer months and I’m too lazy to shell out money for a 2011 planner when the year is half over. How many times can I say planner in one sentence?


Printable sheets + glue stick + christmas ribbon = success.


17.12.10

December is a double-edged sword

It always is. December – the time for holidays, my own birthday, presents, parties, and a break from classes.
However, there’s another part. December – the time for writing 11 page papers in a weekend, cramming for exams, hurriedly trying to get the courses you want for next semester. Then, finally, feeling a big hole in your day where classes were – even if you’ve been productive in the last week, not sitting in a lecture makes it feel a bit less so. And realizing there’s another year over and you’ve accomplished not-so-much.

Another thing – I’m not sure what to think of it, but there’s always Mercury Retrograde. December is interesting, exciting, productive, but always different and not what it seems.

I’m nearly ready for January. New starts, new goals, refreshed, and most of all straightforward and clear January.

Here are some things that could brighten your January, when it arrives:

Amy Marcella 2011 Wall Calendar


Moleskine 12-month Mini Weekly Planner


Essential Art House: 50 Years of Janus Films


Snowdrop Sterling Silver Handmade Earrings


I will, however, try and make the best of things and enjoy what’s left of this month as much as I can. No Scrooges allowed!

23.10.09

DIY your own t-shirt scarf


HOW TO: Make your own 'Necklush' Knock-off
AKA TURN AN OLD T-SHIRT INTO AN AWESOME SCARF


There used to be a really awesome tutorial for this on thisolddress.blogspot.com, but she seems to have deleted, so I've made up my own! Note that I can also make these scarves and sell them for $5 a pop, but the tutorial isn't too complicated so I encourage you all to make your own. 


What you need:
  • an old t-shirt, preferably seamless OR a long rectangle of t-shirt material
  • any decorations you want
  • scissors (optional: seam ripper)


Steps


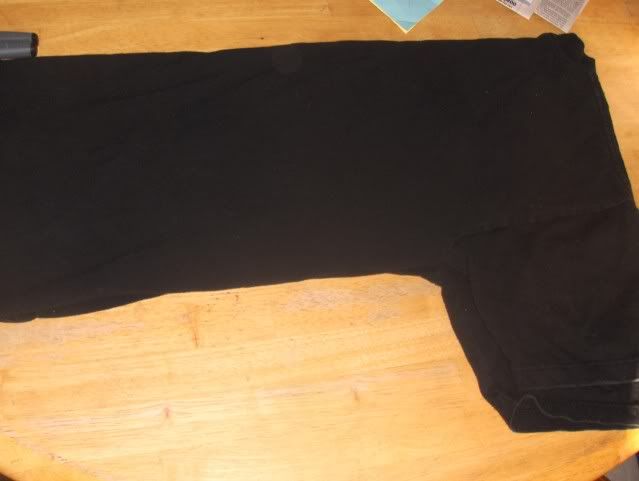
1. Get an old t-shirt, making sure that it is a bit stretch but doesn't have too much spandex in it, if any. Important note: You'll get the nicest looking scarf is you choose  a t-shirt without side seams. This can also be substituted by using a long rectangle of t-shirt fabric and sewing it at one end.


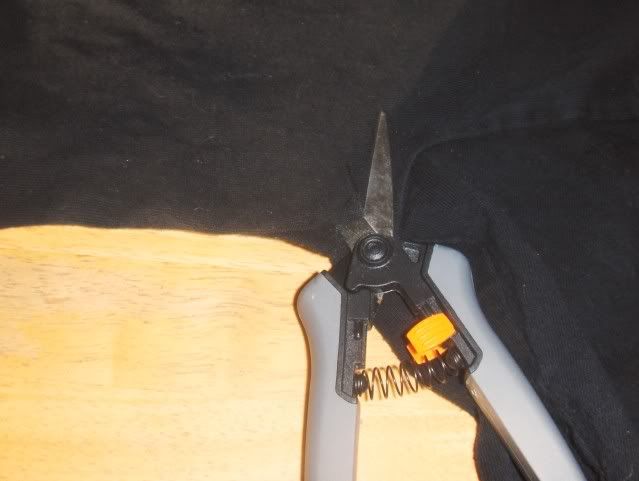
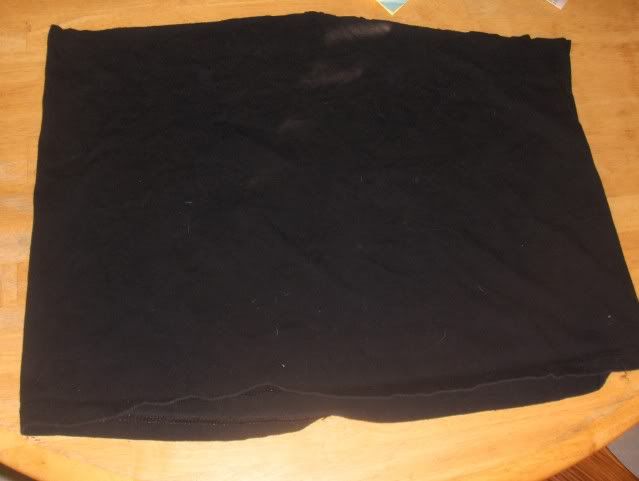
2. Cut off the t-shirt just below the armpits, now you have a huge fabric loop. (If you're just using fabric to start, skip this step).


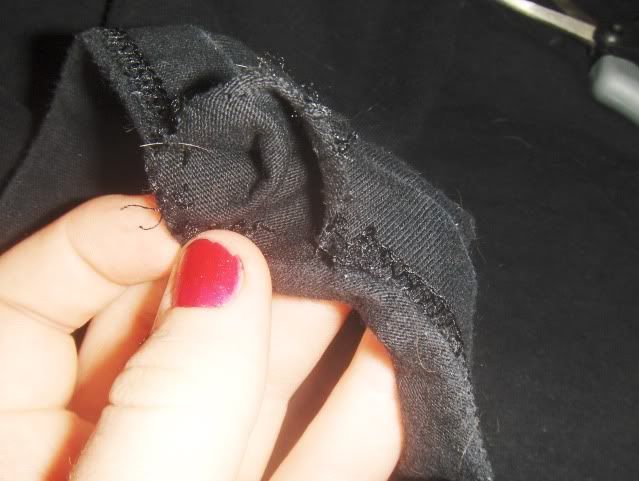
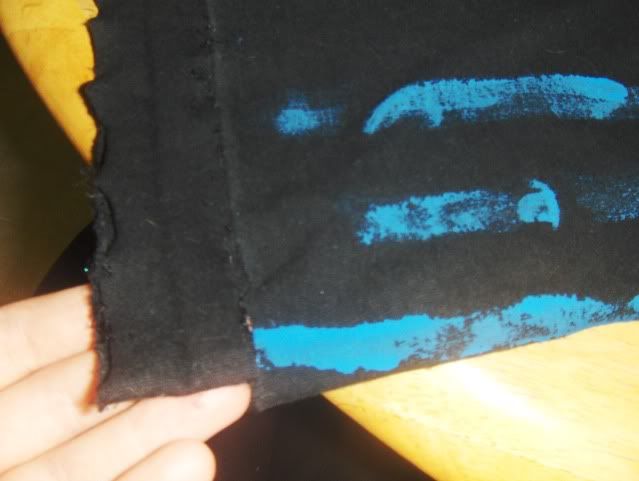
3. Using a stitch-ripper, scissors, or your fingers, take down the bottom hem of the t-shirt so you have more fabric to work with. Pull out all the little thread bits.


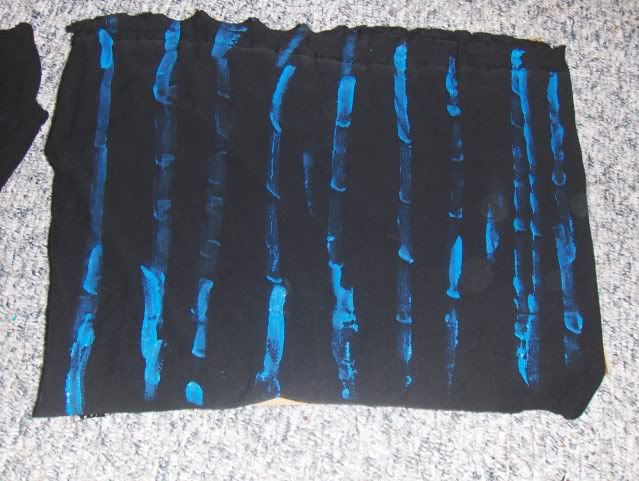
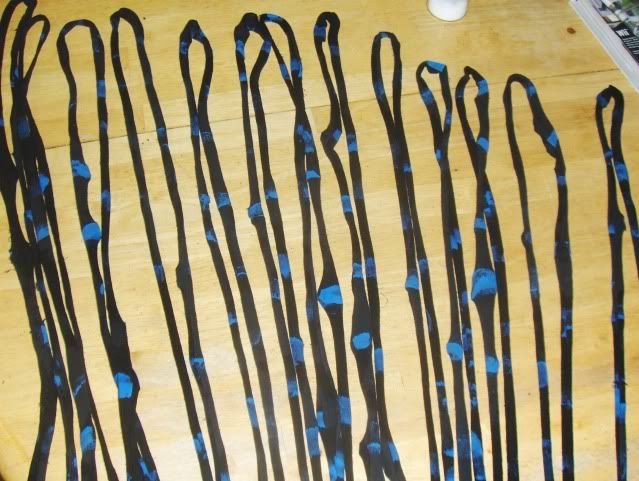
3a. If you want to decorate the fabric, do so now. You can use paint, tye-dye, or anything you want. If you do, just make sure you wash it by hand when you do so, otherwise the colours might bleed. Also, stretch the edge of the fabric to check which way it rolls first. Decorate so that it'll be on the oustide of the roll.  I used acrylic paint, and let it dry over night.


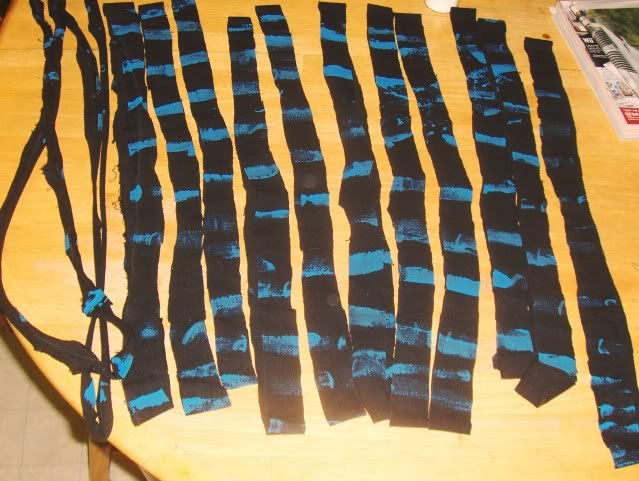
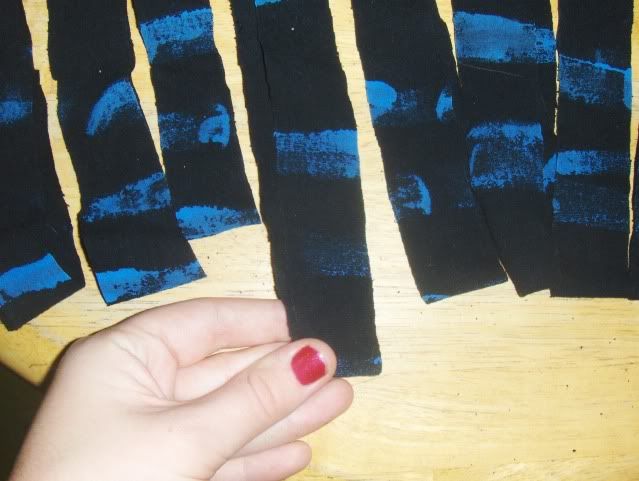
4. Cut across the giant loop horizontally, so that you get a bunch of loops. I make mine about an inch wide, but you should do this free-hand rather than using a ruler. Precision isn't necessary!


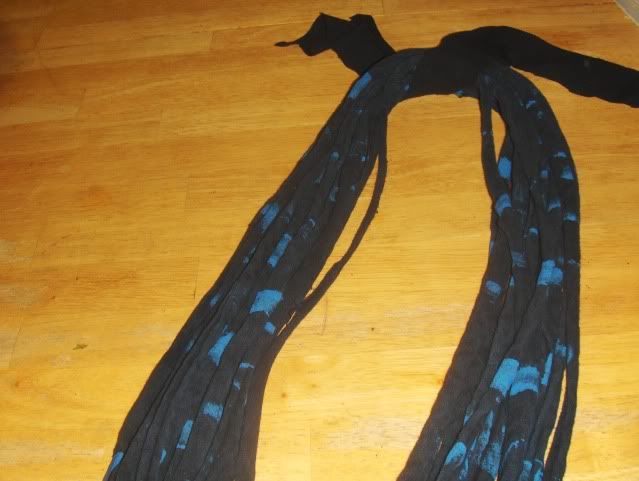
5. Stretch out each of the loops individually, so that the fabric rolls up. Then gather them up so that you have a group of all the loops around your hand. If you painted the loops, you may want to dampen them and let them dry before putting the scarf together, since the water helps remove some of the stiffness from the paint.


my loops before washing.


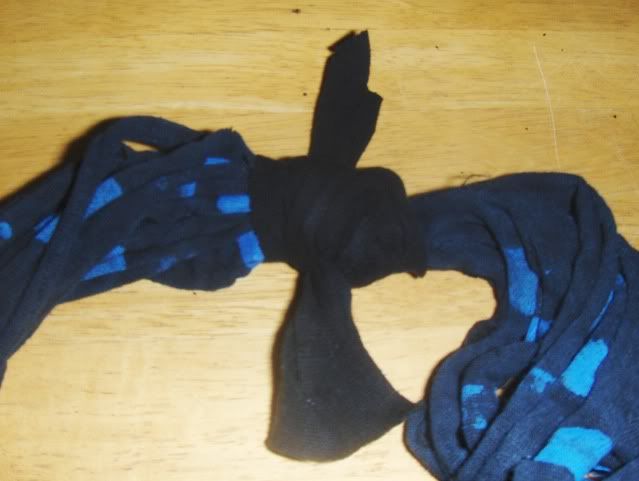
6. Cut a small rectangular strip - around an inch by 6-10 inches - from the collar or sleeve scraps. Then wrap this and tie it around all of the loops at one point. If you used some fabric sewn together at one end, wrap the strip around the seam. Trim the ends or tuck them into the rest of the strip.


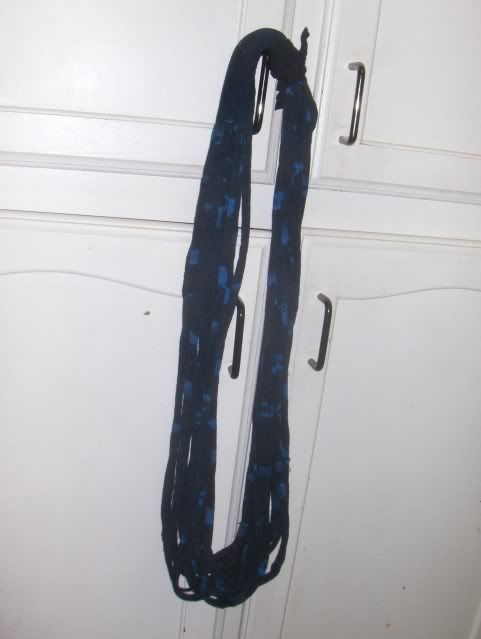
7. Voila! You're finished. You can wear it just once around your neck, loop it twice, or even three times around if you used a big shirt.


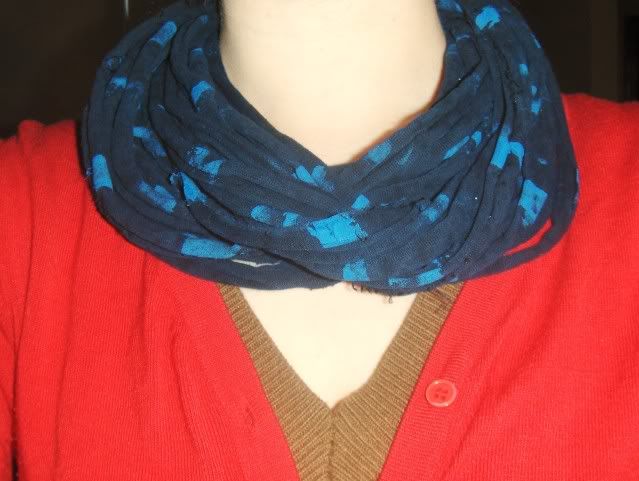
the finished scarf


modeled by yours truly, this is wrapped twice around my neck.


There you go! Like I said, I will be offering these for sale, $5 for plain fabric or $7 for decorated. Contact me if you're interested. Otherwise, DIY up a storm!

Send me any questions if you have them!