

HOW TO: Make your own 'Necklush' Knock-off
AKA TURN AN OLD T-SHIRT INTO AN AWESOME SCARF
There used to be a really awesome tutorial for this on thisolddress.blogspot.com, but she seems to have deleted, so I've made up my own! Note that I can also make these scarves and sell them for $5 a pop, but the tutorial isn't too complicated so I encourage you all to make your own.
What you need:
What you need:
- an old t-shirt, preferably seamless OR a long rectangle of t-shirt material
- any decorations you want
- scissors (optional: seam ripper)
Steps
1. Get an old t-shirt, making sure that it is a bit stretch but doesn't have too much spandex in it, if any. Important note: You'll get the nicest looking scarf is you choose a t-shirt without side seams. This can also be substituted by using a long rectangle of t-shirt fabric and sewing it at one end.

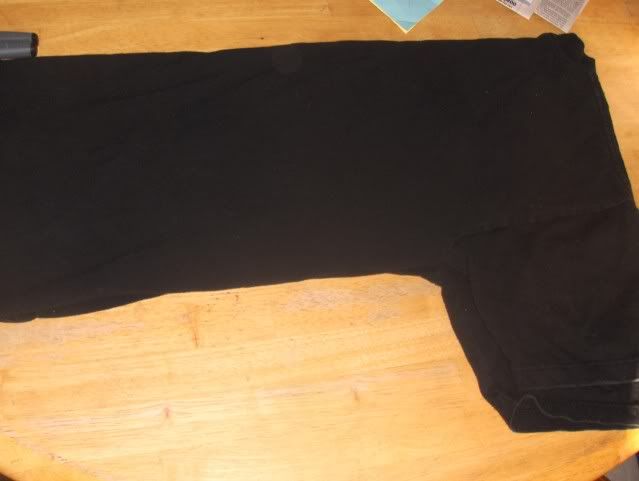
2. Cut off the t-shirt just below the armpits, now you have a huge fabric loop. (If you're just using fabric to start, skip this step).


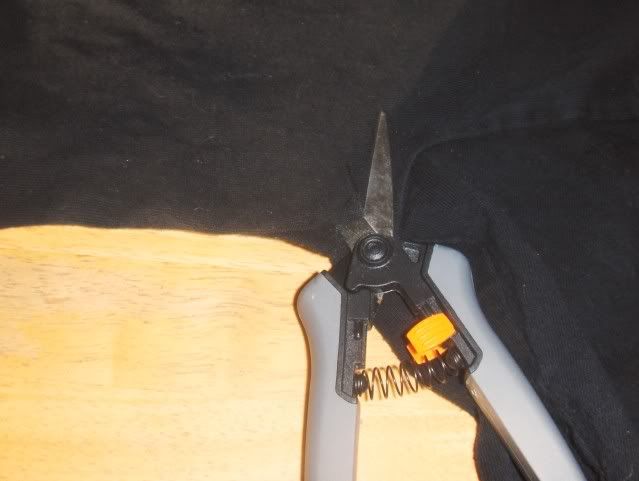
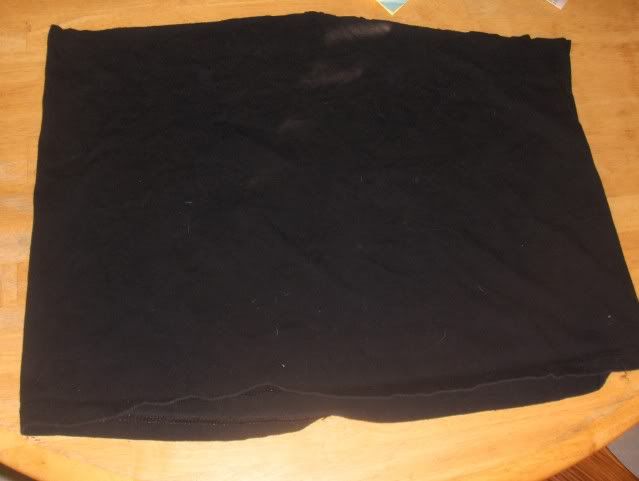
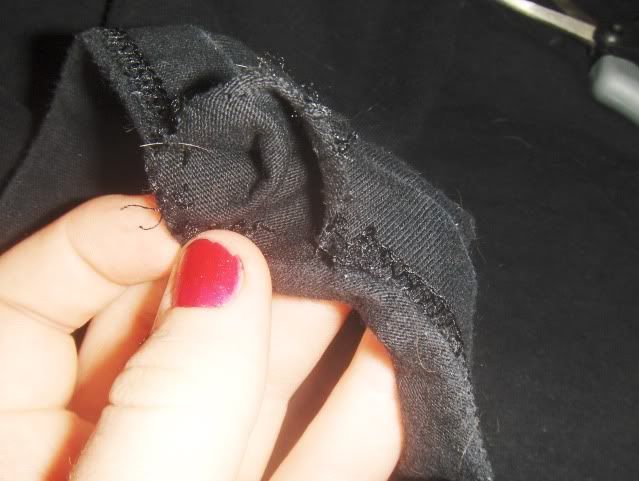
3. Using a stitch-ripper, scissors, or your fingers, take down the bottom hem of the t-shirt so you have more fabric to work with. Pull out all the little thread bits.

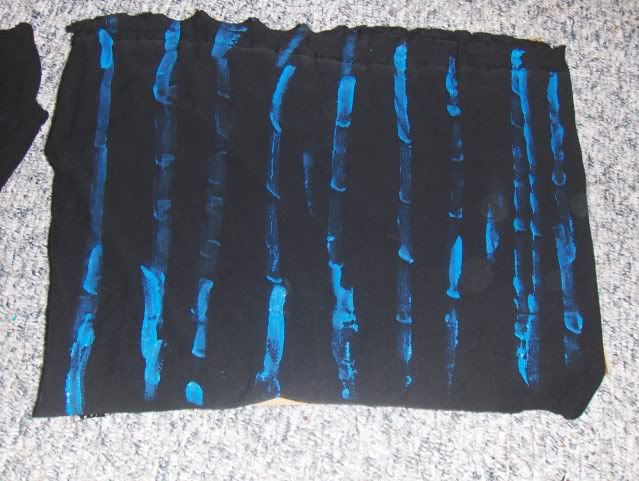
3a. If you want to decorate the fabric, do so now. You can use paint, tye-dye, or anything you want. If you do, just make sure you wash it by hand when you do so, otherwise the colours might bleed. Also, stretch the edge of the fabric to check which way it rolls first. Decorate so that it'll be on the oustide of the roll. I used acrylic paint, and let it dry over night.

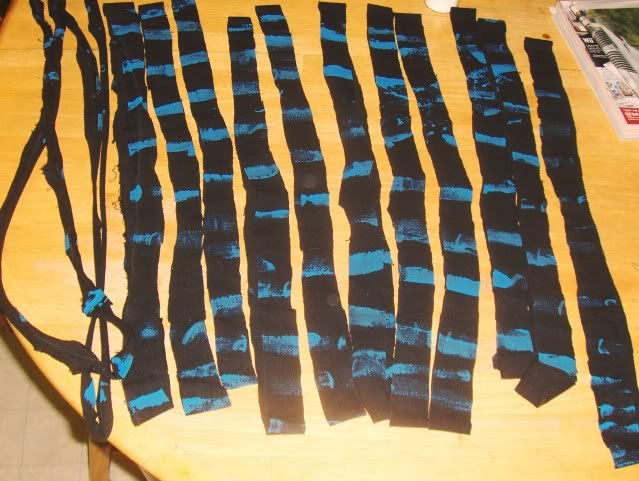
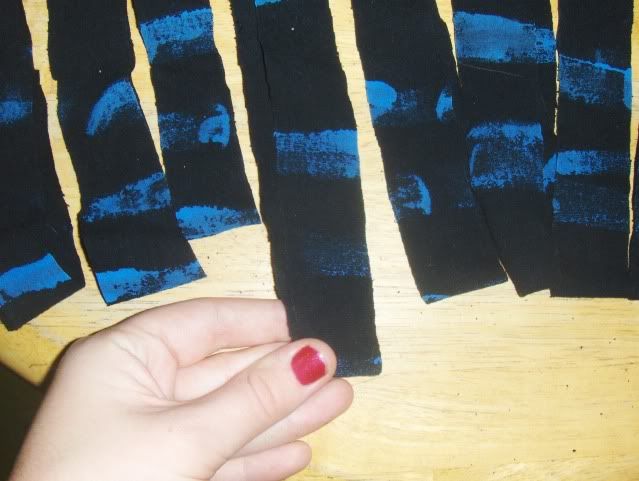
4. Cut across the giant loop horizontally, so that you get a bunch of loops. I make mine about an inch wide, but you should do this free-hand rather than using a ruler. Precision isn't necessary!


5. Stretch out each of the loops individually, so that the fabric rolls up. Then gather them up so that you have a group of all the loops around your hand. If you painted the loops, you may want to dampen them and let them dry before putting the scarf together, since the water helps remove some of the stiffness from the paint.

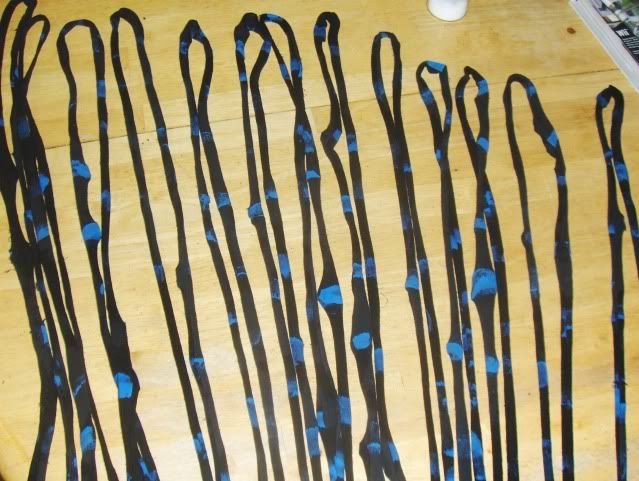
my loops before washing.
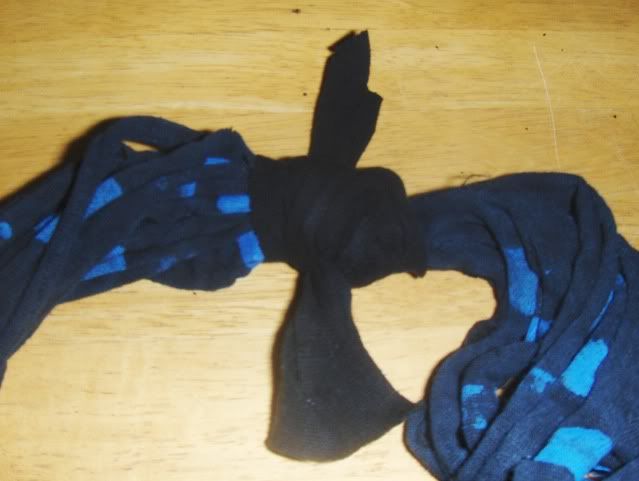
6. Cut a small rectangular strip - around an inch by 6-10 inches - from the collar or sleeve scraps. Then wrap this and tie it around all of the loops at one point. If you used some fabric sewn together at one end, wrap the strip around the seam. Trim the ends or tuck them into the rest of the strip.


7. Voila! You're finished. You can wear it just once around your neck, loop it twice, or even three times around if you used a big shirt.
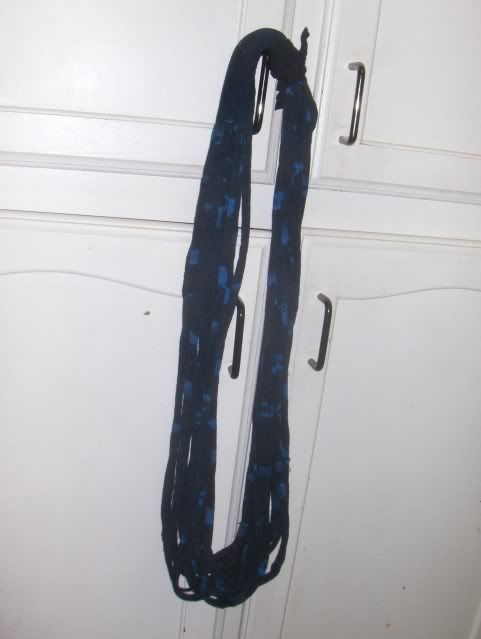
the finished scarf
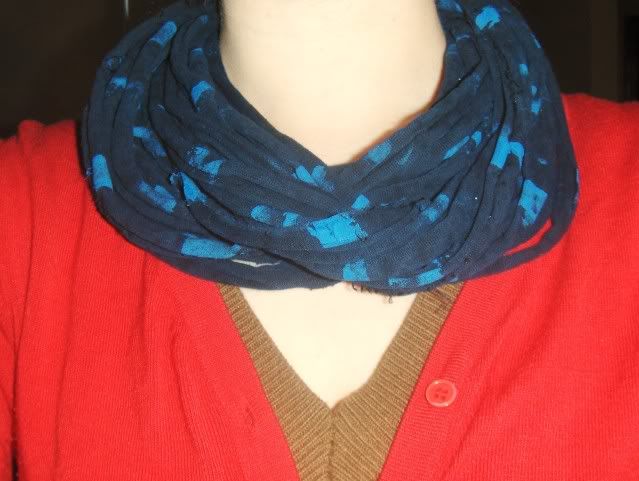
modeled by yours truly, this is wrapped twice around my neck.
There you go! Like I said, I will be offering these for sale, $5 for plain fabric or $7 for decorated. Contact me if you're interested. Otherwise, DIY up a storm!
Send me any questions if you have them!


Love your t-yarn project. I've done several projects in which I cut the t-shirts into thin strips and stretch it gently. I call it curled t-yarn and it's wonderful for many crochet and knitted projects.
ReplyDeleteThis is great! I love it!!!!!!! I'm so going to go through my closet asap :)
ReplyDeleteI'll be looking for more DIY projects to post soon!
ReplyDeletet-shirt necklace
ReplyDelete